
Reading Time: 3 minutes
The "Submit" button has been hit, the engine has finished its research, and the virtual shutter has clicked. Now comes the best part: stepping into the Lightbox to review your production.
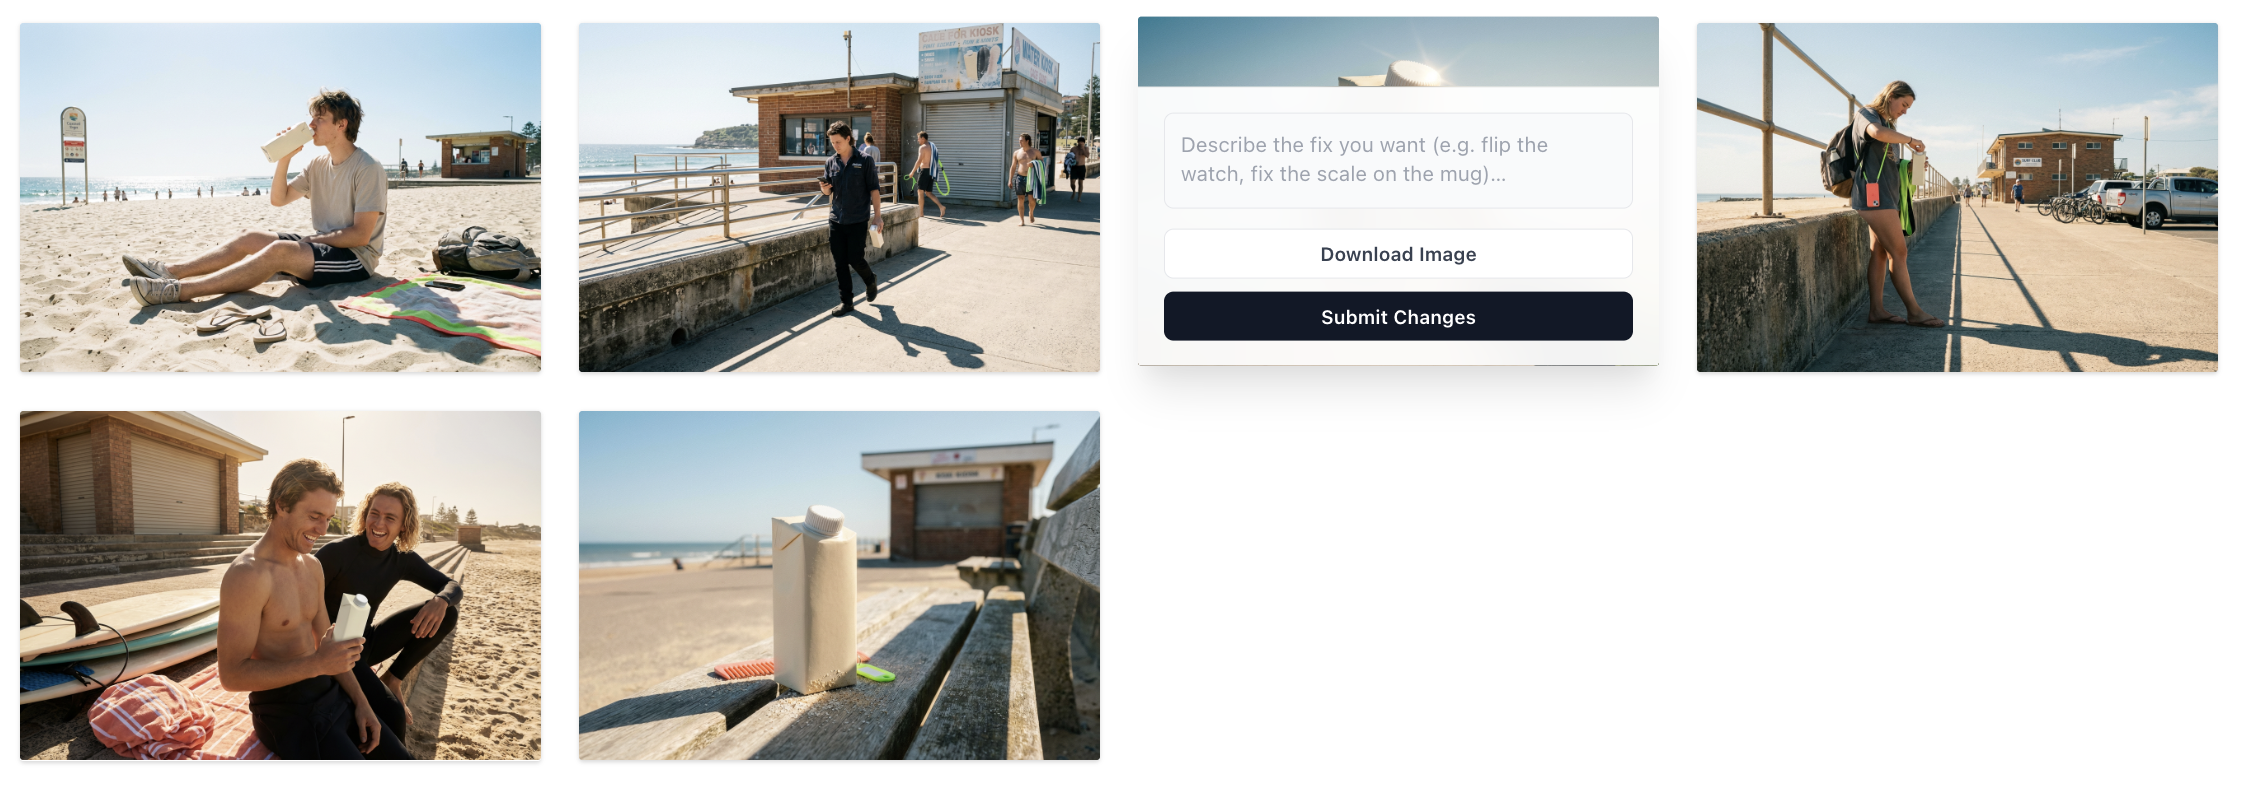
1. The Lightbox & Contact Sheet
When your shoot is ready, you’ll be presented with a Contact Sheet of finished images. This isn't just a folder of files; it’s a curated gallery of how the system interpreted your intent.
-
Reviewing the Work: You can browse the images in full detail within the Lightbox.
-
The "15% Buffer" Mindset: Because Shoot Slayr is a creative system with levers, not a rigid printing press, expect a few "outtakes". If you see a shot where the composition is off or the AI hallucinated a detail, don't sweat it. The goal is to find the hero gems that pay for the entire session.
2. The Fix Functionality: Surgical Edits
If an image is nearly perfect but needs a slight nudge, use the Fix tool. This is perfect for minor alterations to wardrobe, colors, or small artifacts.
-
Keep it Singular: Fix instructions work best when they are short and focused on one specific thing (e.g., "Change the shirt to navy blue").
-
The Re-render: When you request a fix, the engine re-runs the execution layer for that specific image.
-
Minor Variances: Because it is a re-render, you might notice very subtle differences in the background or lighting compared to the original, but the subject integrity will remain the focus.
3. Resolution & Downloads
It is important to remember that your resolution was locked in at the Sentence Builder stage before you hit submit. The Lightbox shows you the final, high-res images based on that choice.
-
Download Your Favorites: Once you’ve identified the winning shots, download them directly to your machine.
-
Credit Value: You’ve already invested the credits to run the shoot; make sure you grab every image that fits your brand's vision.
4. Organization: Master the Sidebar
As your studio grows, your sidebar can get crowded. By default, shoots are named after the Image Style you selected.
-
Right-Click to Rename: To keep your workflow fast, right-click any shoot in the left-hand sidebar.
-
Pro-Tip: Rename your shoots immediately (e.g., "SS26_Lookbook_Melbourne") so you can find them months later without hunting through generic style names.
5. Why it Feels "Art-Directed"
The reason these results look like a professional shoot rather than an algorithmic accident is the Hidden Glue. Even while you are reviewing the images, the system is using:
-
Image Analysis: To ensure your product or subject stays visually consistent.
-
Brand Foundations: To ensure the color logic and personality match your "Creative Spine".
Go get 'em.